
Team management
Navigate to/workspace/:workspaceId/teams to manage access for your workspace.
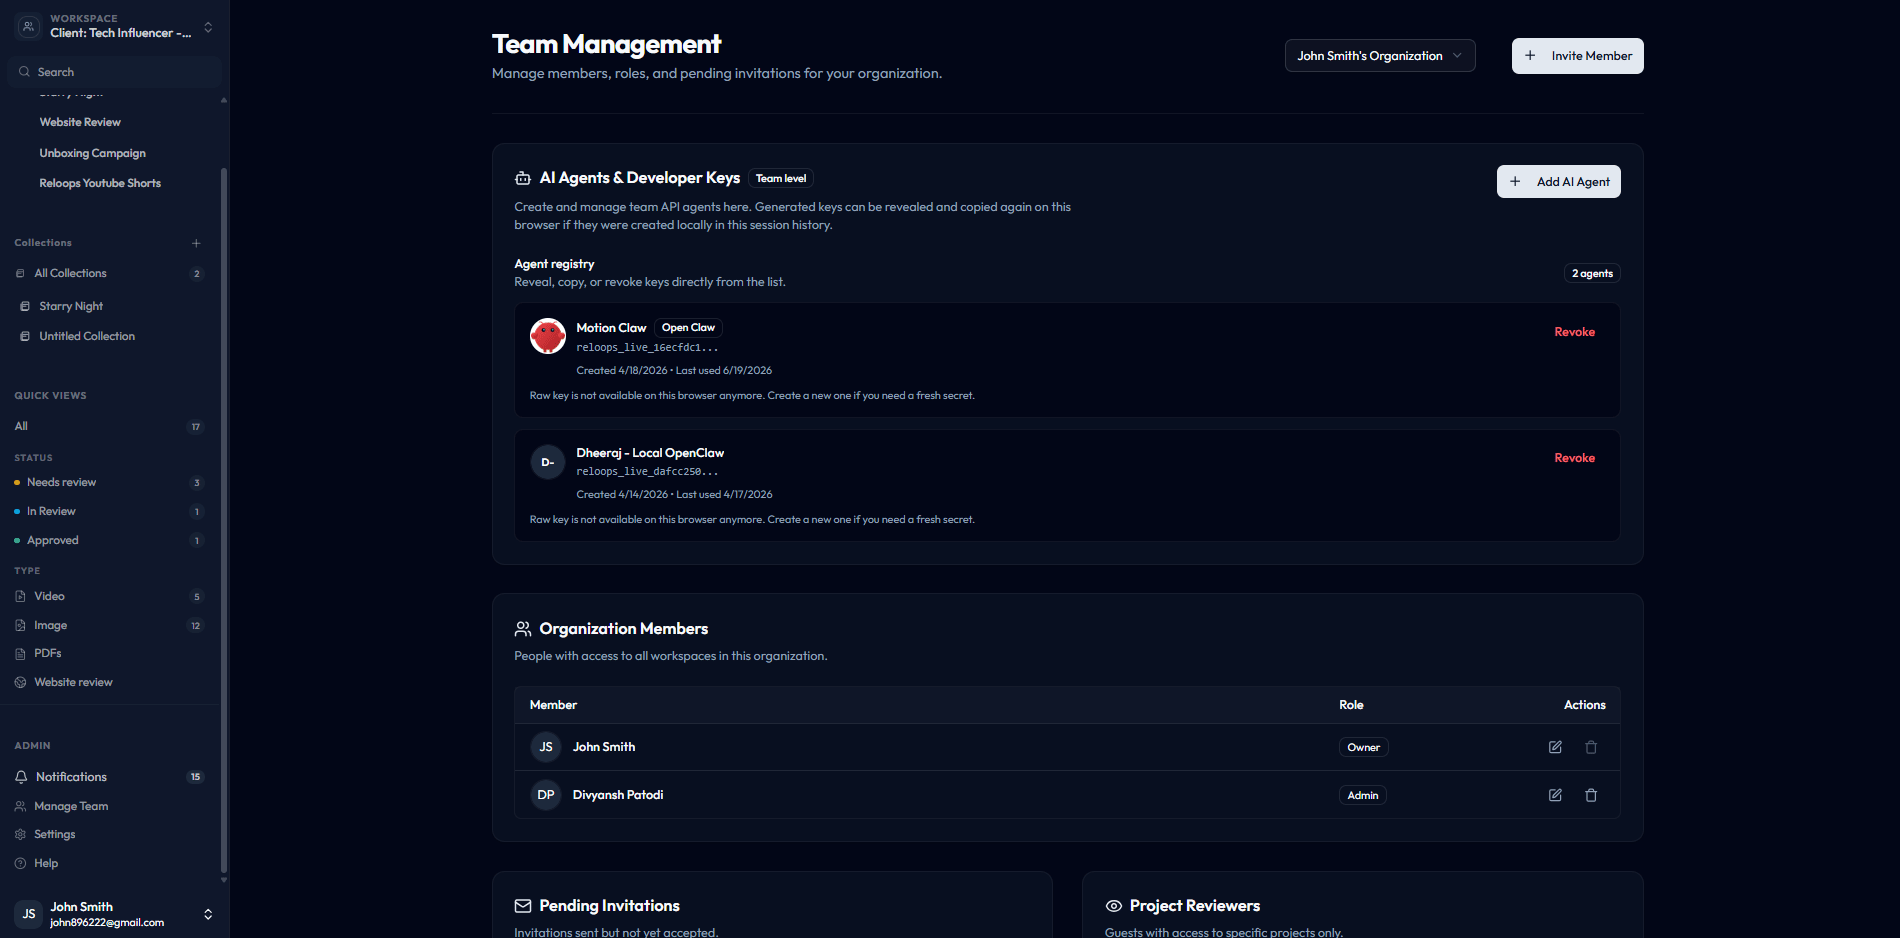
Team management page listing AI agents alongside human members.
- Add members - invite colleagues or external collaborators by email and assign them the appropriate role
- Manage AI agents and developer keys - create, reveal locally cached keys, copy keys, and revoke API agents
- Review organization members - see everyone in your organization who has access to this workspace and adjust their roles as needed
Workspace settings
Navigate to/workspace/:workspaceId/settings to configure the workspace itself.
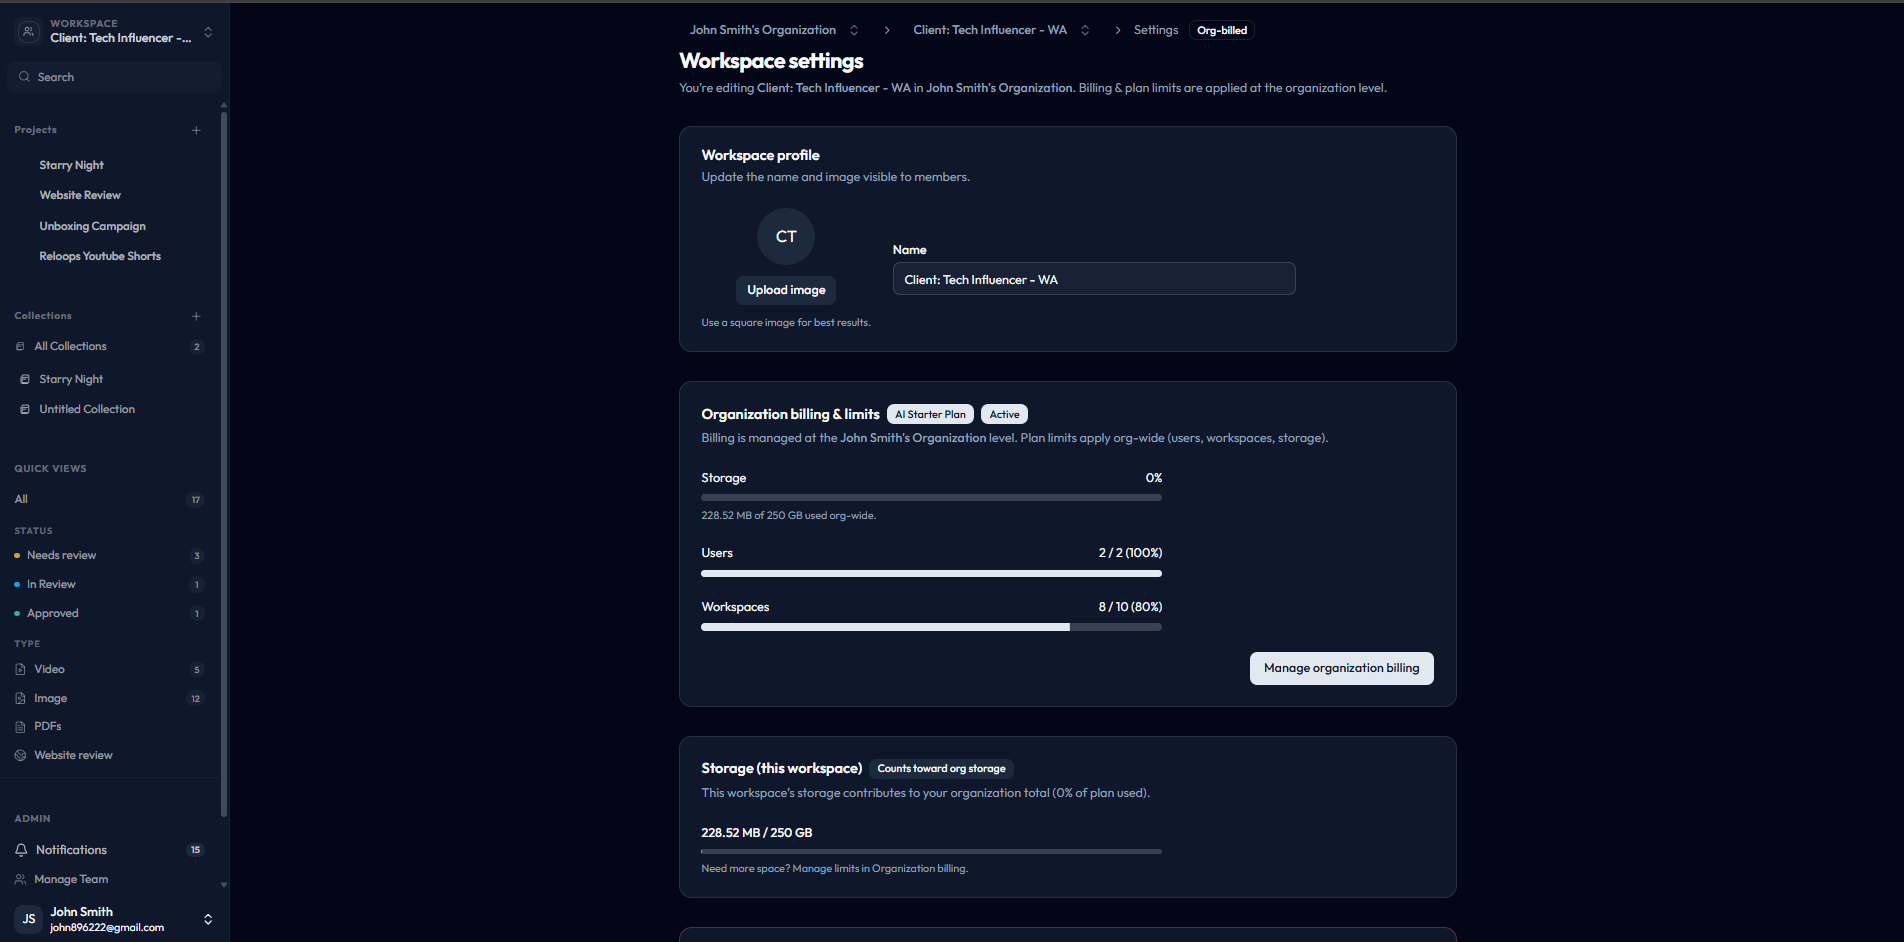
Workspace settings with current plan, billing limits, and storage usage.
- Workspace profile - update the workspace name, logo, and other identity details that appear across the product
- Billing limits - review your current plan, seats, workspaces, API-key allowance, storage, and feature availability
- Storage - monitor how much storage the workspace has consumed and how much remains under your plan
- AI Processing - monitor AI metadata, semantic search, and website-review credit usage
Before changing settings
Run through this checklist before making changes that affect the whole team:- Verify the workspace name shown in the header matches the client or team you intend to update.
- Check whether the setting you are changing applies workspace-wide or only to a specific member or project.
- Review your current storage, user count, and workspace limits before adding more members or creating additional workspaces - you may need to upgrade your plan first.