
/workspace/:workspaceId/projects/:projectId
What you can do from the Assets view
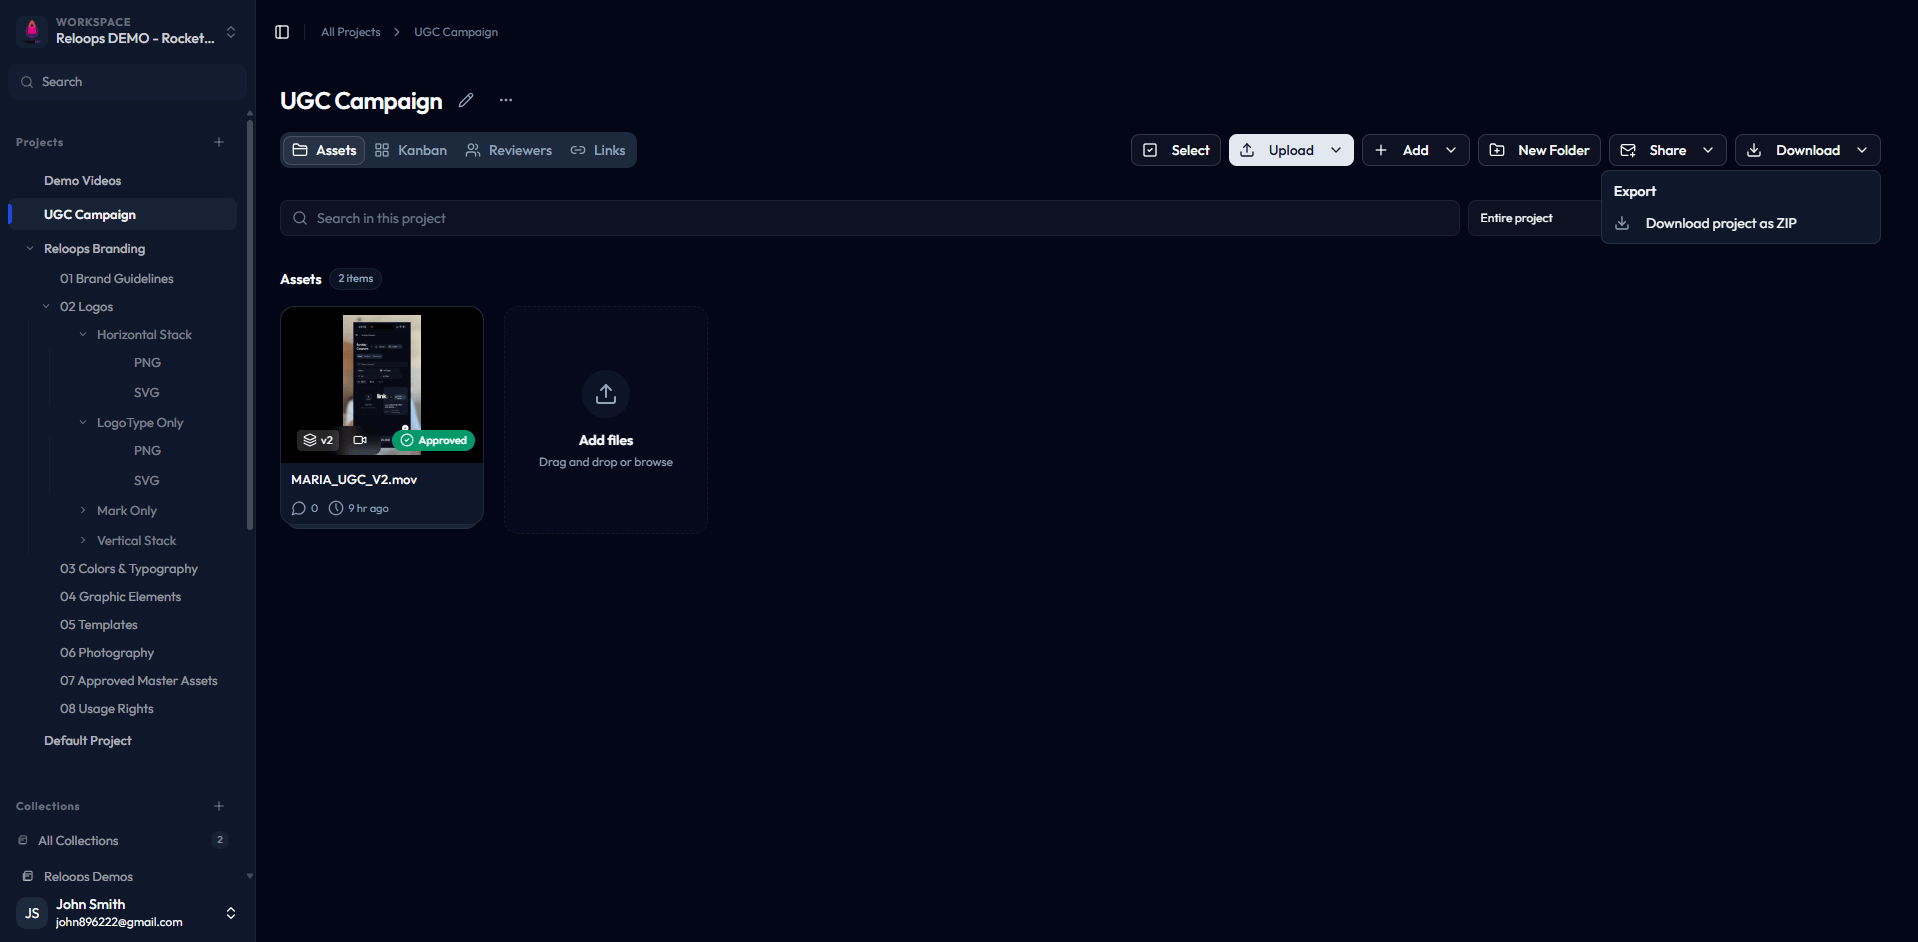
The Assets view is your starting point for all project file work. From here you can:- Start uploads - add new image or video files to the project at any time.
- Open assets for review - click any asset card to open the full review interface where you can preview, comment, annotate, and manage the file.
- Browse assets as cards - scan thumbnails and status badges in the Files view to quickly find what you need.
- Share assets - generate share links or invite reviewers directly from the view.
- Track review progress - switch to the Kanban view to see how assets are distributed across review stages.
Upload options
When you click the Upload button, you get two choices:| Option | What it does |
|---|---|
| Upload Files | Adds one or more individual files you select from your device. |
| Upload Folder | Uploads an entire folder and keeps its contents grouped together inside the project. |
Opening asset cards
Every uploaded file appears as a card in the Assets view. The card shows a thumbnail, the file name, and the current status badge. Click any card to open the asset and access the full review interface, where you can:- Preview the file.
- Leave or reply to comments.
- Add visual annotations.
- Assign the asset to a teammate.
- Update the review status.
- Share the asset with external reviewers.